In my previous column (Ten Ways to Break out of the Preset Rut) we looked at various ways to add a personal touch to sound programming, which in and of itself is a topic that could stretch for many months to come! This time around, we'll take a look at another aspect of life as a modern electronic musician: live performance!
For many independent electronic musicians, collaboration is minimal and most studio recordings are laborious hours of work within the confines of a sequencer. We all face the same problem at some point though – “How do I take what I do in the studio and bring it to an audience, while keeping it just as fun to play, and interesting for the audience?”
We'll walk through some options for experimentation with live solo performances as well as in concert with other musicians in a more hybrid environment. Following are some ideas and suggestions for ways to take a solo show live, and keep it entertaining and fluid!
I'll break this down into 3 main categories: The Gear, The Music, and The Performance:
1. The Gear
In any scenario, either solo or with a band, the equipment you work with live will determine how much flexibility you have for your performance.
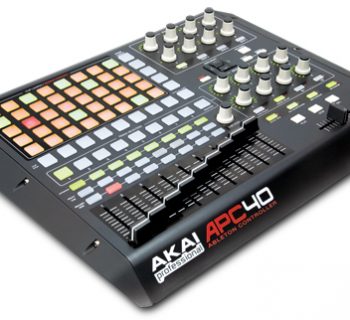
There are many different options available for whatever your ideal setup is. If you have a laptop computer or can invest in one as a live tool, you're half of the way there! With a laptop, one of several different software solutions, and some kind of control surface, you'll have a setup that is a lot of fun with, and you’ll have immense control over your sounds in real time.
Some tools that I enjoy working with:
Software:
Ableton Live – http://www.ableton.com
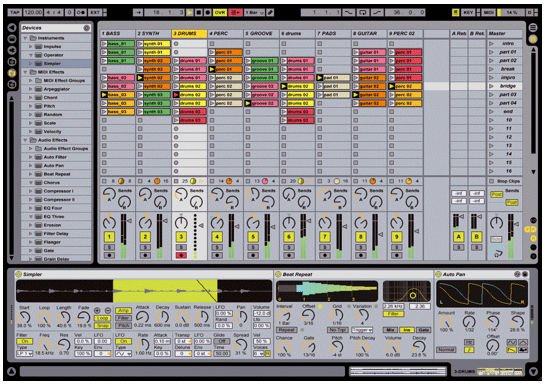
Ableton has been around for a few years now, and they keep adding more and more functionality to their application Live, but never at the cost of confusion.
Live is set up as a series of columns where you can arrange loops, MIDI sequences, etc, in rows to create songs, transitions, and tempo switching. For live solo sets, you can build the backbone of your arrangements this way, creating rows of material for every segment of your set.
You don't have to use Live just for loops. You can enable a MIDI channel with the built in Impulse drum sampler and build rhythms in real time with a keyboard or drum trigger, record them, then loop them repeatedly. You can do that with live audio as well – re-sample guitar, bass, and synths on-the-fly and incorporate them into your set!
The key to working with Ableton Live as an instrument for performance is finding a way to control it that is intuitive. Some people are content and adept at working with nothing but the QWERTY keyboard and mouse/track pad, but it’s very easy to configure Live to respond to MIDI control. Get creative! Drum triggers, body contacts, MIDI pedal boards… If it sends MIDI you can use it!
I've found that adding an additional controller to supplement the QWERTY keyboard can really open up your set options (I use an Evolution UC– 16 MIDI controller). With dedicated knobs, you can assign them to volume control, cross– fading, effects parameters, and so much more. Everything in Live is assignable, and sometimes it can be tough to pick!
Keep in mind that a lot of the things you can do with Live are also possible with other sequencers, only in varying states of complexity.
Hardware:
I'm a big fan of the Elektron Monomachine and Machinedrum (http://www.elektron.se) and use them quite often in live improvisational sets. They are full-featured step-sequencer-based machines with very intuitive interfaces for quickly shaping sounds and creating variations during sequences. They’re relatively pricey machines but worth the investment if you respond well to their workflow. Of course, any step sequencer can be played like an instrument with practice: the various Korg, Roland, and Yamaha groove boxes all have some interesting features to tweak your programs while playing.
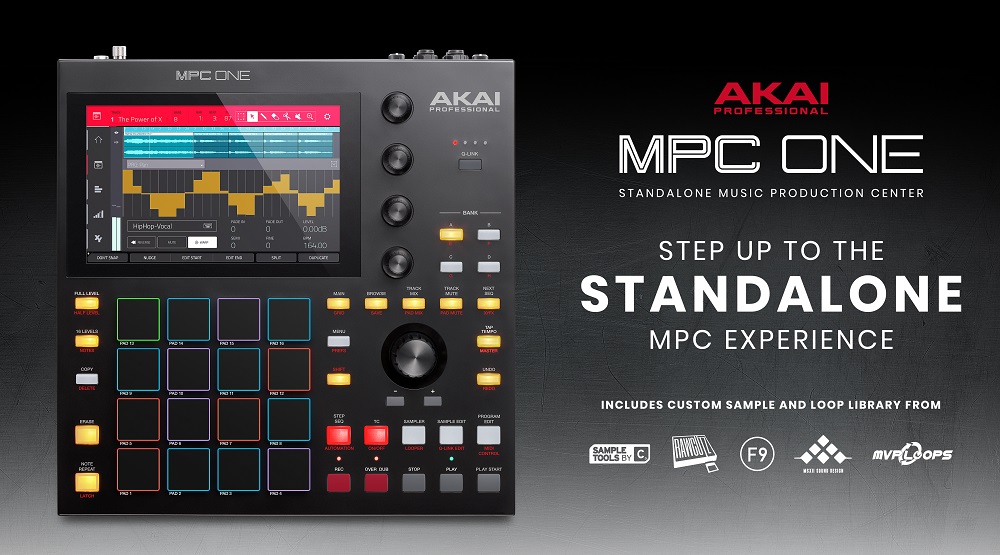
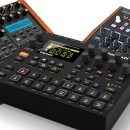
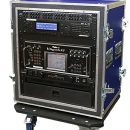
The Akai MPC series of sampler/sequencers are great tools as well – the MPC1000 is a treat to work with, and you can bring audio into it as loops or as one-shots, and use the pads to play drums live, trigger sequences, mute tracks, and you can also use the MPC to send MIDI instructions to other sound modules. I’ve performed with an MPC1000 and an Elektron Machinedrum, using the MPC as the master tempo source and also to send program changes to the Machinedrum for different sequences in my set. Other similar tools are the Roland MC909 and the Yamaha RS7000.
The key thing to remember about hardware sequencers/synthesizers – they are tools in and of themselves, and it’s best to use them as a writing tool for your sets, as opposed to trying to recreate studio work on them (unless you’re also using them in your daily production).
Controllers:
We’re facing a bit of a golden age for hardware controllers – every manufacturer seems to have controllers, knob boxes, drum pads, MIDI mixers, and more. There are numerous solutions at every price point that are sure to fit your needs.
Some highlights:
- Novation Remote series – http://www.novationmusic.com/
- Korg Kontrol 49 and Microcontrol – http://korg.com/
- M– Audio: from the Trigger Finger drum pad controller to the Axiom, Oxygen and Keystation line of keyboard/midi controllers – they pretty much have something for every application. http://www.m-audio.com/
- Edirol – Edirol‘s PCR series is also a great line of controllers and interfaces. http://www.edirol.com/
The important thing to consider when looking at all of these – what do you think will be the most important feature to you? If you don’t plan on playing keys live, then the M-audio Trigger Finger and the UC-33 or X-session might be your best options. Look over the specs and any specific software or drivers that come with the equipment that may be beneficial to your performance needs.
2. The Music
Ok, so you've got songs, and you have a gig lined up in a month that you need to be ready for. Trial by fire! Don't panic!
Let's look at it from both sides now – the solo performer and the ensemble performer. I’ll break down some tips for each scenario:
A. Solo.
If you’re going at it alone, simplify your setup as much as possible, while retaining as much interactivity as possible. To really have fun with your music, prepare your set well in advance and spend a lot of time going over the material. I’ve found that setting up my live rig, and writing new material for that setup is the best way to start. If I’m working with a sequencer such as Live, I’ll set up the Ableton set with labels on the channels such as “Drums”, “Pads”, “Bass”, and for every section of the set I’ll create basic tracks for each of these. You can work with pre-recorded parts, MIDI sequences, anything, just get your parts organized so the least of your worries is which channel to arm!
With your set, make sure to prepare enough material to have plenty of room for diversity in the parts. Prepare numerous drum sections, bass sections, melodies and accompaniments, or as many various sounds and treatments as you need in order to keep your music interesting.
Now that you have some music in the sequencer, how do you make it tweakable? Well, there are many options!
For every section of your set, focus on one element that acts as a lead, whether it is a particular series of loops, or an external instrument like a keyboard, drum machine, or guitar. Set up a series of effects or controls over parameters that make significant changes to the sound, such as a knob set to control filter cutoff, or delay send amount, or to turn On and Off a particular effect like a bit-reducer or distortion.
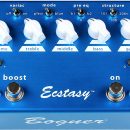
I’ve also found when using a laptop by itself, or with another hardware synth or drum machine, it’s always good to have a small mixer to monitor your levels as well as to work with hardware send effects. Use a delay pedal on a send, put a stereo filter unit between the laptop and the mixer, and do filter-driven delay sweeps with two knob twists! Adding guitar pedals or small effects processors like the Alesis AirFX or a Korg Kaoss Pad are great interactive tools for live performance.
B. Ensemble
Everything above can be applied seamlessly to working in a band situation as well! Remember – if you keep it flexible then it opens up the possibilities to do collaborative work. If you’re working with other laptop/sequencer based musicians, share MIDI clock with one setup acting as the master tempo source! Then you can coordinate with the other players to determine who is handling different aspects of the performance. Should one person focus on the rhythm section (drums, bass) while the other focuses on leads? One person handling the electronics while the other plays guitar/sings? Delegate the responsibilities based on the strengths of the partners and practice!
For a more traditional live band, the laptop setup can be a handy master too – you can use a sequencer to send a click track to a live drummer, and run sequences and patterns along to the master tempo. If you really want to get crazy you can also set up the sequencer to receive tap tempo from the drummer!
In either case, having sync in place will make everything fall into place and lock up nicely.
3. The Performance
So how does it all work together? You’ve got your music put together, and you’ve got the equipment you need to perform your set and do it in an interesting and interactive way. So what can you do to keep it visually stimulating for the audience?
This section will be brief, because each of the things I’ll mention are much longer discussions waiting to happen. Not to mention, the majority of the performance aspect will be entirely based on you, the performer, executing your art in front of a crowd. This section briefly talks about the “icing” on the cake!
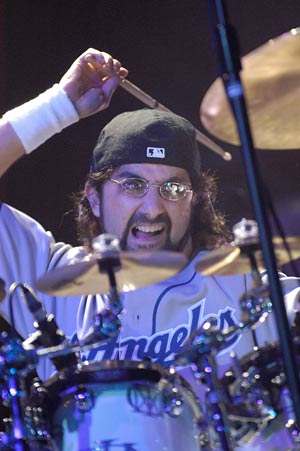
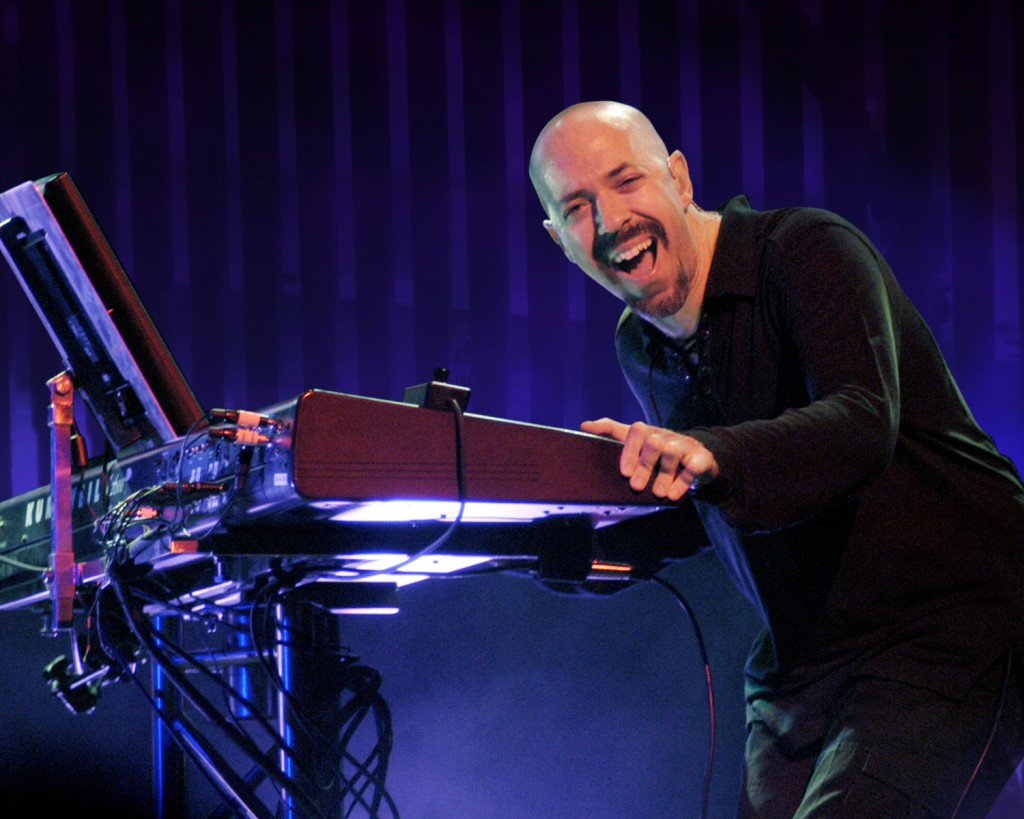
With a live band, the band members interacting with each other, the energy level, light show, and sometimes backing video all contribute to the audience’s experience of the show. If you’re just one person on stage, with a pile of equipment and a predominantly electronic set how do you compete with the visual power of a band performance?
Well, just look at the elements we mentioned:
- Energy level: put your heart into it! Respond to the music, bob your head, wave your arms. If you’re feeling energetic and responsive to the music the audience will pick up on your energy! Would you want to watch someone hit the spacebar and sit back and drink a beer? [Editor’s note: could that be a new musical style called beer-gazing?]
- Light Show: MIDI is a fantastic technology – not only can it control synths, but it can control lights! I’m not recommending you go out and buy a MIDI lighting rig right away, but sometimes the house lighting system has the capability to accept MIDI signals. Think ahead – if you know the venue has a good lighting setup, prepare a MIDI channel in advance and bring an extra long MIDI cable so that you can plug into the house lighting system and take advantage of it (assuming the nice house engineer you just bought a drink for is willing to allow it).
- Backing Video: If you’re not the world’s most exciting performer, perhaps enchant the audience with some video?
For hardware solutions, Korg has a whole line of equipment: Korg’s Kaoss Pad Entrancer, Kaptivator, and Mixer:
http://korg.com/gear/info.asp?a_prod_no=KPE1&category_id=2
With these tools, you gain a hardware solution to create live video feeds, and you can interact with them and morph between various clips in real-time. Add live video manipulation to your set and really up the ante on your performance! If you’re not a videographer, find someone who like to make creative videos and entice them into creating video to run along with your music during live performance.
There are other hardware options from Edirol like the CG– 8 Visual Synthesizer:
http://www.edirol.com/products/cg8/index.html
For a software-based solution to live video performance, check out:
Arkaos: http://www.arkaos.net/ Cycling’74 Jitter: http://www.cycling74.com/products/jitter
And these are just a few examples. A whole host of other options are available– it’s an art form unto itself that I don’t want to shortchange.
For some of my performances, I’ve worked with live VJ’s who handle the video aspects – it’s a great partnership to make if you can, and it adds a great collaborative element to the whole show with someone else presenting their video work with your music.
Conclusion
This is really an exhaustive topic – one that this article is surely only scraping the surface of! I hope through these tips and setup ideas you’ve picked up an idea or two about how to approach live electronic performance. Use my tutorials as a launching pad for discussion and then let’s talk about it. Visit the Electronic Performance forum on MusicPlayers.com and post your questions, along with tips and tricks that you’ve picked up from your own shows.
Remember… be creative, be flexible, and have fun!