At some point in your musical life, you’ll want to record drums for yourself and have them sound good, whether for rough demos or full-blown album projects. If your drum recording education is limited to having looked at photos and videos of bands in the recording studio, you’ve come to the right place to start acquainting yourself with the tools and techniques employed in recording these critical noisemakers.
One common misconception is that recording drums requires hundreds of mics and can take up sixteen tracks or more on your DAW (you have a digital audio workstation, right?). Rest assured, many classic and modern recordings have been made with only a single microphone or a pair. Of course, there are just as many classic recordings made with twenty mics on a kit, so where do you start?
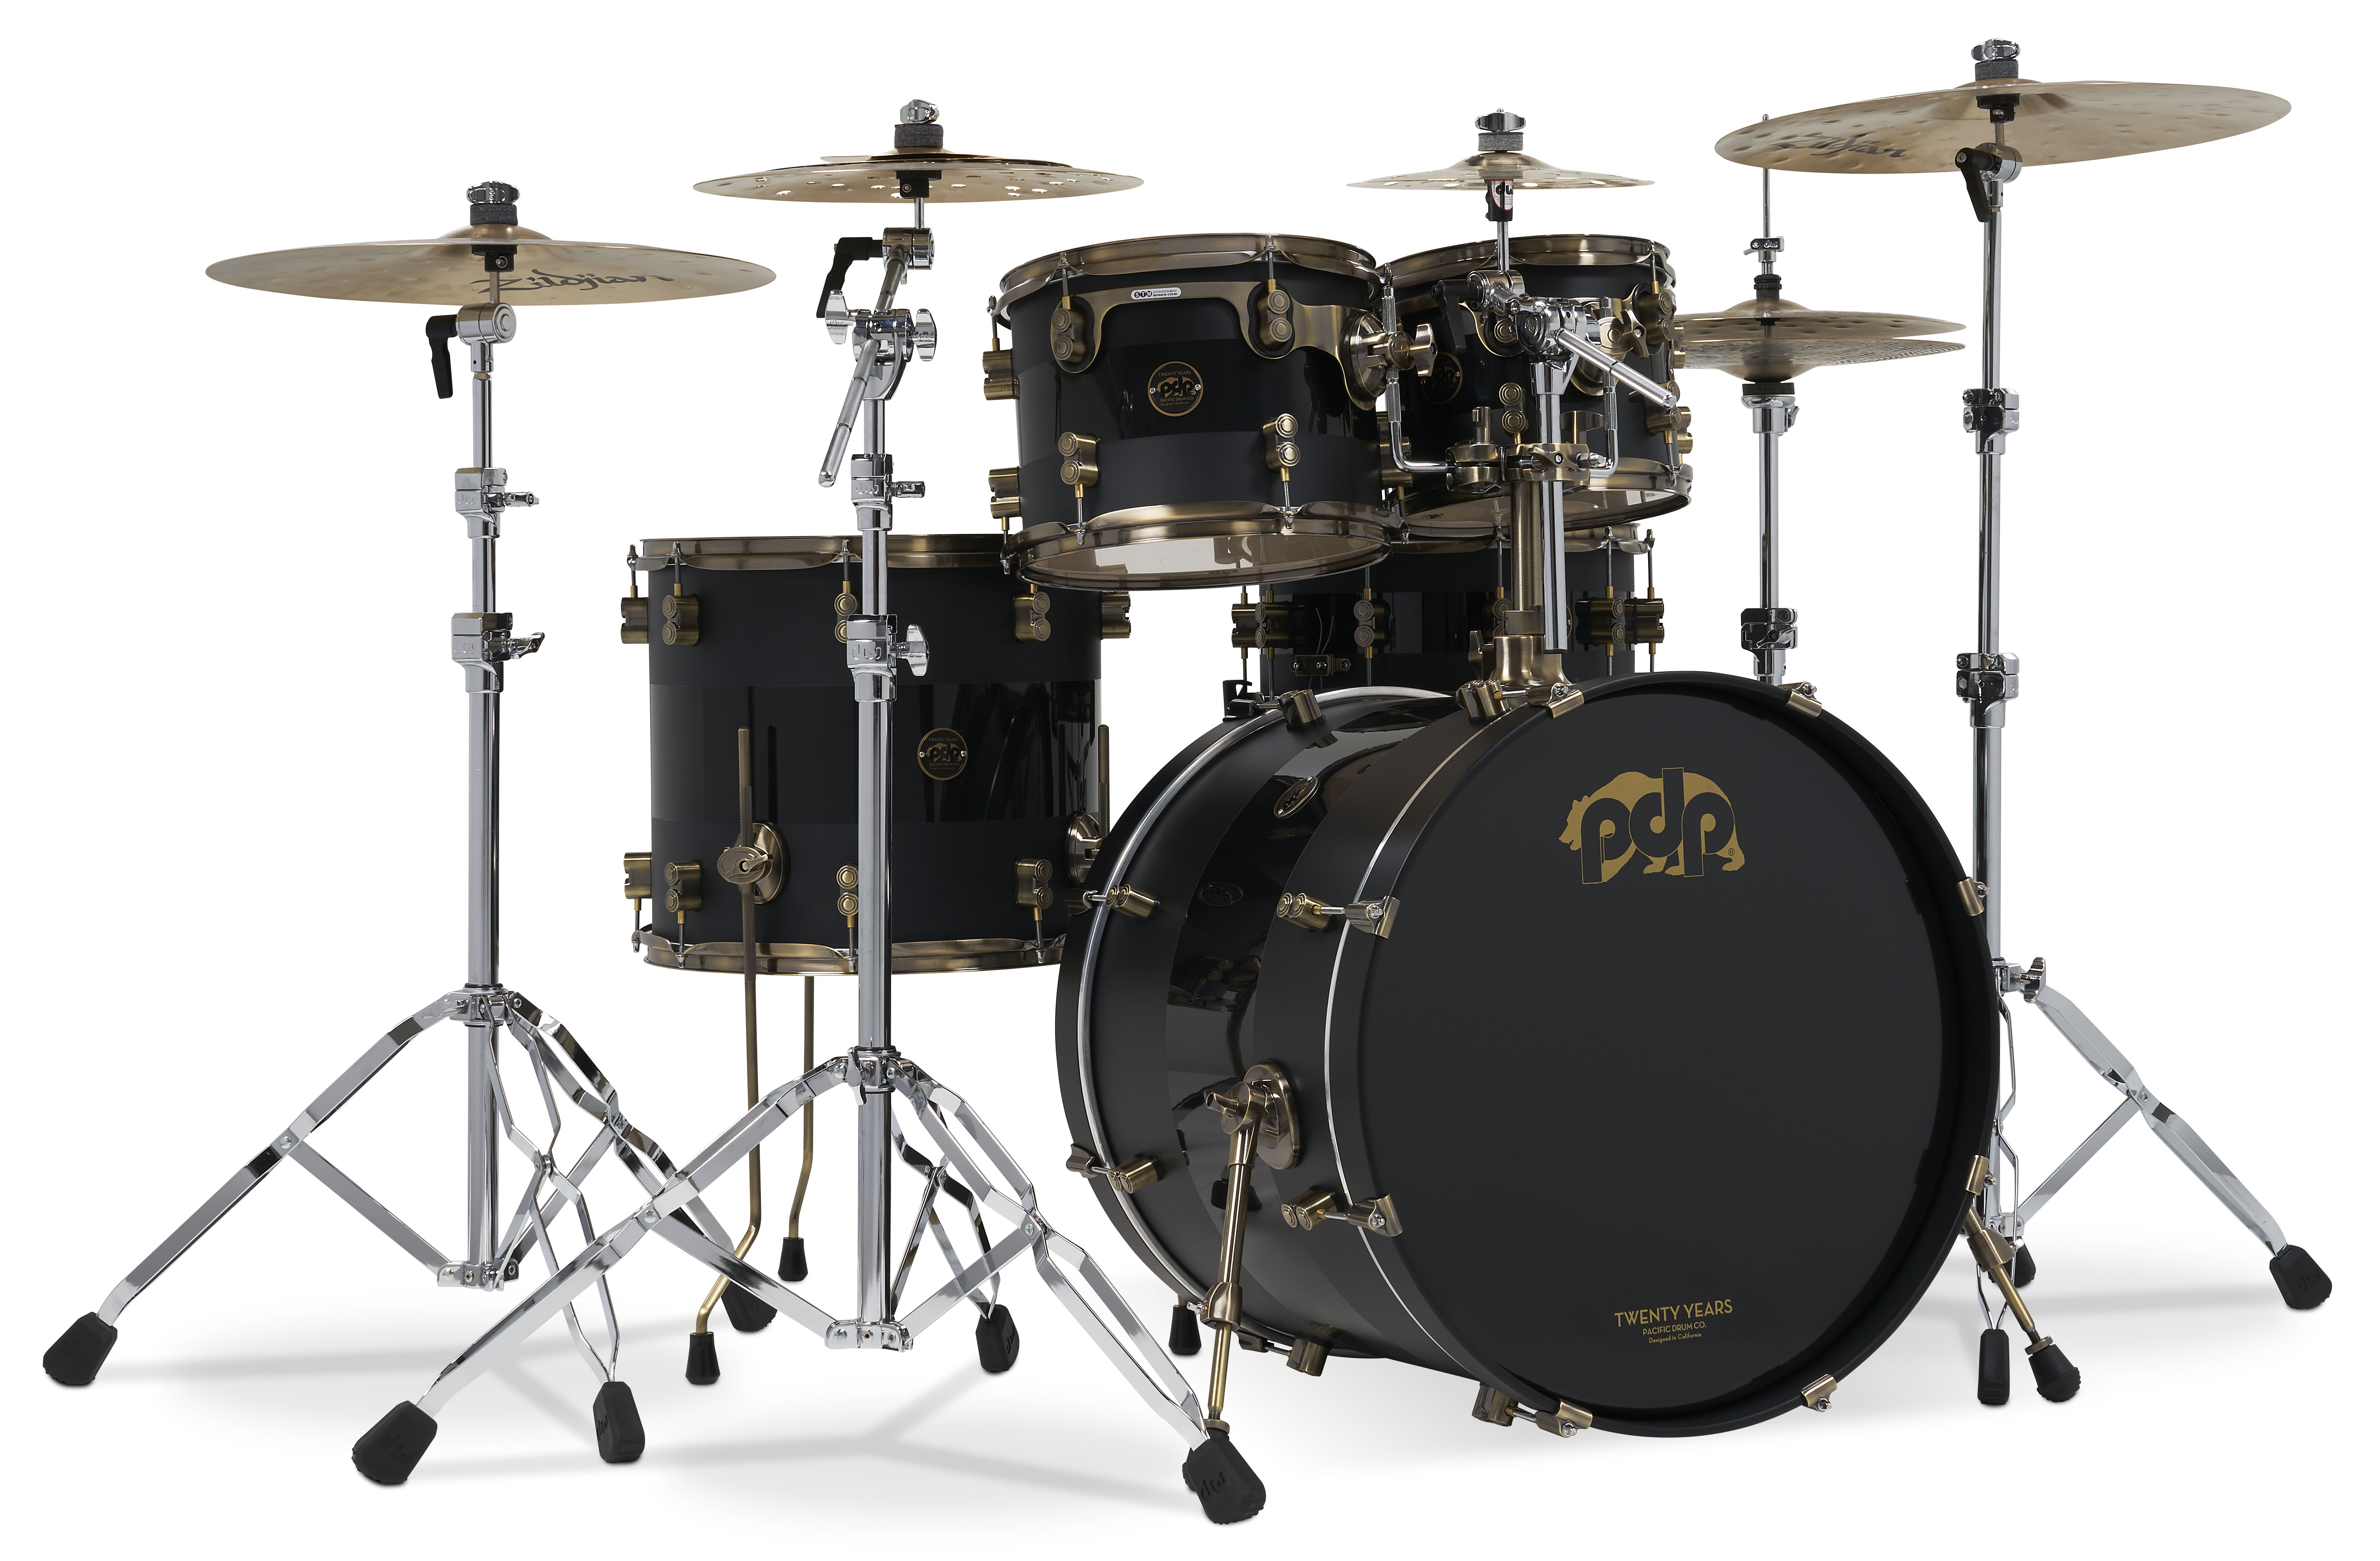
1. A Good Sounding Drum Kit
Remember the critical recording equation: Garbage In = Garbage Out. Great mics on a crappy drum kit will superbly record the sound of a crappy drum kit. Fortunately, you can still make a decent recording of a great sounding drum kit with inexpensive mics.
If you don’t have the funds to purchase a great kit, there are other things you can do to ensure better sounding recordings: tune your drums properly and minimize rattles and buzzes. A fresh set of drum heads and proper tuning will work wonders. If you’re less experienced at tuning your drums (or you’re just the engineer and not a musician), bring in a pro-level drummer to properly tune the kit.
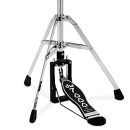
Pedals and stands can all produce unwanted squeaks and rattles, so make sure all moving or adjustable parts are tightened and properly lubricated for rattle-free operation. A loose tom holder can produce rattles where you least expect them, so don’t just look at your kick pedals and hi-hat.
2. A Good Sounding Room
You don’t have to track at a world-class recording facility to make great drum recordings. You’ve probably heard people comment on great sounding rooms, though. If your budget will only allow for a handful of mics, you can make spectacular sounding recordings of a full drum kit with as few as one or two mics, provided that the drums sound great in the room.
Recording at home doesn’t have to limit the quality of the room sound. In fact, some of those “great sounding rooms” are far from sonically perfect, but some random combination of factors —from room shape to construction materials to wall and floor coverings to ceiling height — all come together in such a way that drums just happen to sound beautiful in those spaces.
In the case of your home recording environment, there are some definite things that will improve the sound of the room. If you’re recording in a basement or garage, start by covering all exposed concrete surfaces. Finish the room, if you can, and put in a wood or carpeted floor (not tile, as it’s too reflective of a surface). Cover the walls with some sound-absorbing materials. Companies like Auralex sell kits with sound absorbing materials, or you can buy packs of their acoustic tiles (foam, not ceramic). If you want to try and make do with things you already have, another alternative for some very simple wall treatment is to cover some of the wall space with carpet remnants or area rugs.
We’re not going for a scientific and specific treatment here, and we’re not focused on soundproofing (there is a science involved there that we’ll cover in other tutorials), but by covering your walls with some random absorbing materials, we’ll be cutting down on sound reflections and, in effect, tuning the room to have a different (hopefully better) sound. Note: egg crate foam as found on bed mattresses has absolutely zero value for any music purpose and should be left on your bed! This cheap foam may feel nice to sleep on, but it doesn’t actually absorb sound waves like real acoustic tile, which is made from a significantly denser material, and it doesn’t minimize sound wave reflections. Area rugs are significantly more dense a material, especially rubber-backed rugs like you might find at IKEA. They will both reduce reflections and reduce sound levels.
If your recording space is shared with other living space in your home, couches and other fabric-covered furniture are great absorbers of sound waves and will break up the flow of otherwise reflective sound-waves, so place these objects around the room. Who needs bass traps when you’ve got sofas!
Finally, consider the big noisemakers in your room: heating systems, air conditioners, and plumbing. When it’s time to record, turn these things off and make sure nobody (pets included) is walking around upstairs or in the house.
3. Proper Selection and Placement of Microphones
The more microphones you apply to recording a drum kit, the greater number of options you’ll have for customizing the audio results, but don’t feel like you need to do this since you’ll also exponentially increase the number of places where things can go wrong and take away from the quality of your recording.
Minimalist Approach
You can make excellent recordings of drums with only one or two mics in a room. This requires a nice sounding room with no unwanted noise because the mics capture both the sound of the drums and the natural ambiance and reverb of the room. You’ll capture a very "live" sound. Many classic recordings in the 50s and 60s were done this way, and the approach is still used today.
As stated above, miking a drum kit in this manner will give you a very live sound. But if the recording studio is actually a room in your home, recording in this manner may also capture the previously-mentioned toilet flushes, air conditioning, telephone rings, and more (though some of this may add some great character to your music)! Seriously, there are plenty of classic rock albums with little engineering goofs in them like talk-back mics that were accidentally left On while tracking, cell phones captured by room mics, and more.
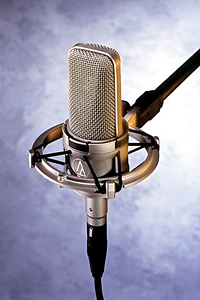
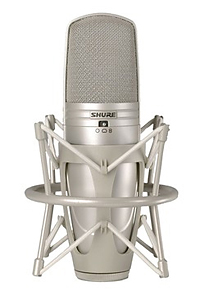
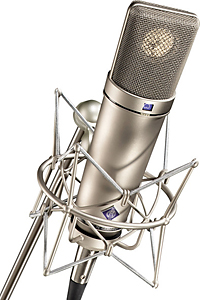
For a live sounding room recording with only a few mics, condenser mics are preferred. There are some fine condenser mics available from Audio-Technica, Rode, AKG, Shure, and countless others, that can be purchased for very little money.
Look for mics with a very wide frequency response as these will be capturing your entire kit from the lows of your kick and floor toms to the highs of your cymbals, and mics that are capable of handling higher SPLs (sound pressure levels) will work best for drum applications.
Consider purchasing at least a pair of condenser mics so that you can mic your kit in stereo, and as you add additional mics to your drum recording adventures, you can always use this pair as overheads, or for capturing room ambiance.
Where should you place these mics? Any rule one engineer tells you will be broken by another, so follow this rule: the mic placement that makes your recording sound best is the right placement!
Oh, you want a little more guidance than that? Here are some suggestions to get you started:
Single Mic: Try placing it on a boom stand just above and behind your drumming position, pointed at the middle of the kit. This will capture the sound that you hear for yourself when playing. Of course, it will also capture your grunts, groans, and heavy breathing, so be conscious of your breathing during recording. Alternately, place the mic on a boom approximately five to ten feet in front of the kit, pointed at the kit, to pick up the projected sound that a listener might experience.
Pair of Mics: Ah, stereo does sound great! Try flanking the drum throne (seat, to you non-drummers) position with mics behind and over the drummer’s position. Alternately, place the mics in front to the right and left of the kit instead of dead center as you would with the single mic.
Make sure that the pair of mics remain equidistant from the kit to minimize out-of-phase issues that can occur when sound waves reach one mic sooner than they reach the other.
Multiple Mic Approach
On the opposite end of the spectrum, you can take a "close-miked" approach and have one or more mics on each individual drum and cymbal. This technique is particularly useful if you don’t have a good sounding room because it mostly eliminates, or significantly minimizes, issues with the sound quality of the recording environment. With a close-mike approach, since you’re reducing or eliminating the room’s ambiance or reverb, you’ll add these characteristics back in the mixing process using outboard processors or plug-ins.
The obvious advantage to this approach is that it can record individual elements within the drum kit separately, but many producers and engineers (myself included) don't care for this approach in its purest form because it doesn’t capture the true sound of the drum kit.
Part of the sound of your drum kit comes from the interaction of one drum’s sympathetic vibrations as a result of strikes to other nearby drums or cymbals, plus the mix of the room ambiance. Isolating all the parts is sort of like playing each individual piece in a vacuum, which isn’t how they really sound when played as a kit.
This approach will cost more than the minimalist approach in many ways, too: larger number of microphones, stands, cables, additional signal processing tools, and possibly a lot more disk space if you record all drum parts to individual tracks (more on the recording aspect later).
When close miking drums, you’ll need some specialty mics that serve different purposes than the condensers used as overheads in our minimalist example.
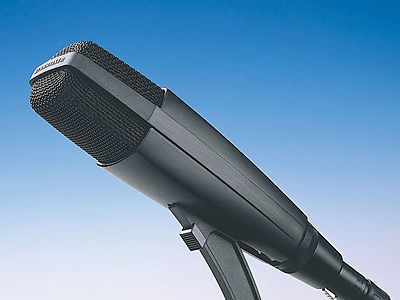
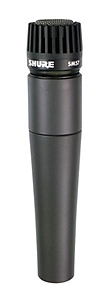
To record your snare drum and toms, dynamic mics are most commonly employed. Popular choices include the classic Shure SM-57 and Sennheiser MD 421. Mics are commonly placed very close to the top drum head surface near the rim (especially for snare drums), but you may economize on toms by placing these omnidirectional mics in between pairs of toms to capture more than one at a time.
Additional mics may be employed to record the under-side of drums, too. While this is rarely done with toms, many engineers add a mic to the underside of a snare drum to blend with the top mic.
Dynamic mics are also placed in close proximity to cymbals such as hi-hats and ride cymbals, but condenser mics like we used in our minimalist examples are often times placed above the kit to capture cymbals.
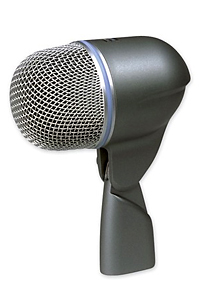
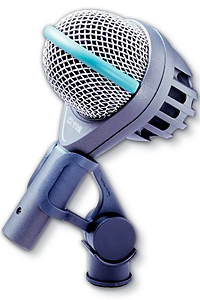
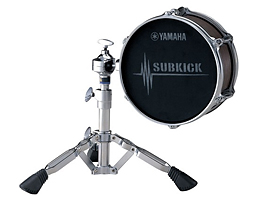
Capturing the kick drum typically requires using dynamic mics optimized for capturing low frequencies at high SPLs. Popular choices include the AKG D112, Shure Beta 52, and Audix D6. For recordings looking to capture even lower tones, a relative newcomer to the world of drum recording is the Yamaha SKRM-100 SubKick. Basically, it’s a small speaker wired in reverse so that its large surface area acts as a low-frequency-capturing mic. It is used by many engineers in combination with the aforementioned kick drum mics.

As you can see, recording a drum kit in this manner will require a large number of mics. Fortunately, the mic companies have created drum mic packages that include a combination of mics suited to drum recording, combined with drum mounting hardware, at a discounted price.
There are kits at many price points to suit even modest budgets. We would avoid the entry-level kits unless you’re on a student budget, but the higher-priced kits provide a great value. Our Shure drum kit included a Beta 52, three SM-57s, and mounting hardware. It wasn’t all that we needed for miking a large kit, but it provided a great savings over purchasing these mics separately. Plus, they’re useful for recording all of our other instruments, too!
You may find that one of these kits combined with a pair of nice overhead condensers provides just the right coverage for your drum recording needs.
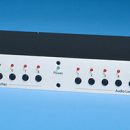
But with all of these mics, how do you keep the sound of one drum from being captured in a nearby mic? Noise gates are commonly used to isolate drum sounds, configured to only open when they detect a strike to the specific mic attached to them. In the multi-mic setup, this can require a large number of noise gates, and many manufacturers make gates with four or eight noise gates in a single rack unit. One or two of these may be needed if you want to really isolate drum sounds as much as possible, and DBX, PreSonus, and Drawmer are a few of the companies who make multi-channel noise gates. Don’t forget this will double your cable requirement, too!


Our preferred approach? Forget the noise gates entirely! Bleed from one mic to the next contributes to preserving the sound of the overall kit instead of the sound of the individual drums. This requires drummers with great finesse, though. Accidentally hitting the rim of one tom during a fill will be captured without gates, whereas in the gated approach, the miss-hit may be isolated to a single track, easier to edit or minimize in the mix.
Combining Approaches
Is there a middle ground? You bet! A three or four mic approach is quite popular, with a dedicated dynamic mic on the kick drum, one on the snare, and two overhead condensers. This provides more detailed control over the sound of the kick and snare, perhaps the most important elements in your kit.
Panning Your Drum Mics
In the minimalist setup, panning is easy. A single mic straight up the middle in mono is all that you need. With a stereo pair, try panning them each from 50% Left and Right to 100% Left and Right, increasing the stereo spread and listening to see how you like the results.
With three or four mics as described above, you should typically keep your snare and kick mics as close to center as possible, while panning your overheads for a nice stereo spread and ambiance.
When multiple mics are involved, pan the dynamic mics gradually from right to left across the kit so that tom fills move across the panning spectrum and your hi-hat and ride cymbal work sound slightly more to the left or right side of the kit to represent the actual sound of the kit from a listener’s perspective. Keep your overhead mics panned in a nice stereo spread, with your kick and snare near the middle, and you’ll have a well balanced spread.
Experiment
Everything we’ve discussed is just a guideline or starting point. Take a nice sounding kit in a nice sounding room and experiment with different recording techniques or combinations of the information above. Try a different mic for a different use and hear what happens. Some of the best recordings are the ones where all the rules were broken in a search for something that specifically didn’t sound just like everything else.
4. Recording Your Drums
When it’s time to track your drums, there are just as many variables are there are with miking them. Even on big budget major label albums, some drums are tracked straight into a DAW like Digidesign Pro Tools, while some engineers will track the drums to two-inch reel-to-reel tape and then transfer the analog recordings into their DAW for editing and mixing.
Most likely, though, you’ll be tracking straight to your DAW. The multi-mic approach can easily eat up multiple tracks, but one approach you can take is to create mix groups and record those to different tracks. For example, rather than every mic going to its own track, take your pair of overheads and send them to one stereo track, and mix all of your tom mics to a stereo track, while leaving your kick, snare, hi-hat, and other specific parts of your kit going to individual tracks.
Once you’ve recorded your drums, optimized the mix levels, and added effects as needed, you can also further reduce your track count by sub-mixing all of your drum tracks to a single stereo track and then disable the individual tracks, freeing up voices/tracks in your DAW. Don’t delete the individual track audio though, in case you need to go back and re-mix the drums later in the recording or mixing.
A word about compressors and EQ — tread lightly, and try to save these for mix time. If you over-compress drums while recording, or make a bad EQ decision on your mixer, you won’t be able to undo the damage easily. One of the benefits of recording in the digital age is that we can make these creative decisions later in the process, so just focus on getting as hot and clean a signal as possible recorded into your DAW (without digital distortion, of course).
If you need help, besides asking questions in our forums, consider hiring a professional engineer for your next project. If you are on a tight budget and want to do things for yourself, get all of your gear organized and then have an engineer come into your home studio for a few hours to help set up the mics and recording equipment for you. You’ll learn some great things, and then you can experiment after using their work as a reference starting point in your room. If you do this, we suggest taking lots of photos with a digital camera so that you can easily reproduce what they set up in the future.
Happy drumming!