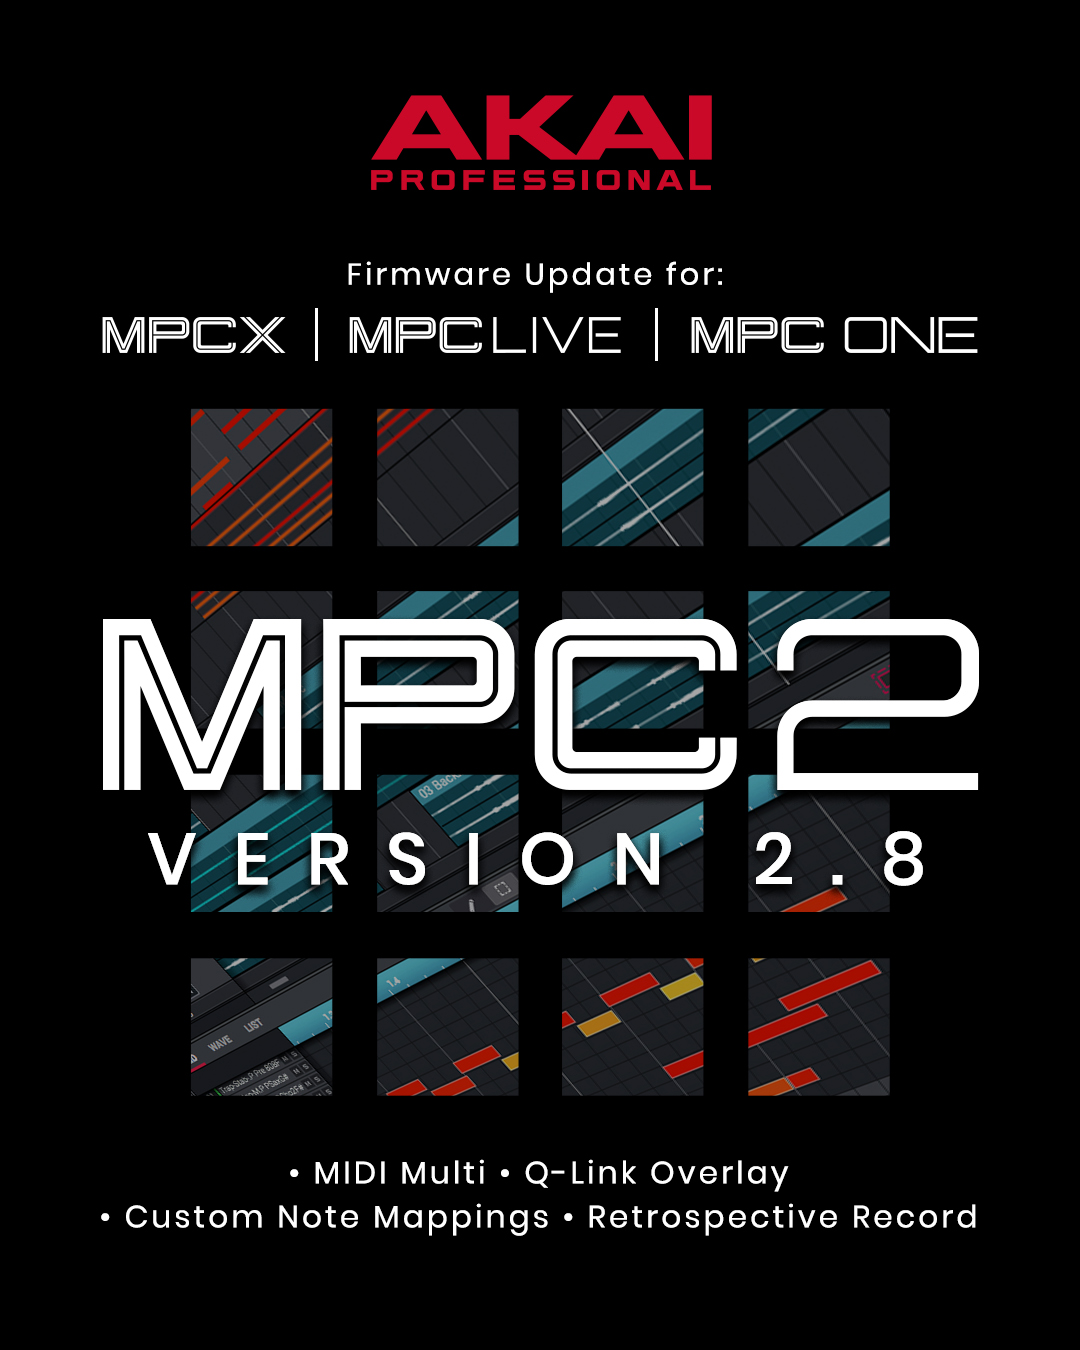
New Features
MIDI Multi
MPC becomes the ultimate MIDI sequencing studio centrepiece. In MPC 2.8 you can now connect and route all of the MIDI gear in your studio to and from your MPC standalone.
USB MIDI Input and Output Support
You can now use any class compliant MIDI device with your MPC standalone. Plug in your USB keyboards, MIDI interfaces, and USB to CV modules to dramatically increase the I/O of your MPC standalone (Note: To use multiple USB MIDI devices with MPC use a high-quality powered USB hub).
To configure your MIDI inputs and outputs go to Preferences > MIDI / Sync.
The Input Ports section displays all available MIDI Ports in a list. Use the keyboard icon to rename a port to a custom name, this is particularly useful when using a USB MIDI interface that has multiple MIDI keyboards or sound modules connected to its ports as you can rename the ports according to the device they are connected to. MPC will then use your custom MIDI port names across the TUI/GUI. Next to each MIDI port are the Master, Control and Track buttons:
- Enable Track to add the port to the list of MIDI inputs available to a track.
- Enable Control to send MIDI from the port to MIDI Learn.
- Enable Master to send MIDI from the port to the current track ignoring its monitor state. TheMPC Pads are an example of a device that is set to Master.
The Output Ports section displays all available MIDI output ports in a list. Use the keyboard icon to rename a port. Next to each MIDI port are the Sync and Track buttons:
- Enable Sync to send Sync to this port. MIDI sync messages will be sent according to the type set in the Sync Send > Send preference.
- Enable Track to add this device to the list of MIDI outputs available in a trackBy default, the Track Enable Ports When Discovered preference is set to On so that when a MIDI device is plugged in the Track option is automatically enabled and its ports can be chosen from the track MIDI Input or Output fields in the TUI/GUI.
To Configure the MIDI Input and Output for a Track:
- From the TUI go to Track View and use the MIDI Input Port and Channel fields to configure your MIDI inputs. For tracks where the program type is set to MIDI you will also see the MIDI Out Port and Channel fields.
- From the TUI go to Main Mode, open the channel strip by pressing the disclosure arrow above the meter, set the channel strip to Track (the third icon from the left) use the MIDI Input, Output and Send To fields accordingly.
- From the TUI Channel Mixer, in the toolbar set the Mixer to display MIDI Tracks, next press the third f-key (default Mute), until you get to the third page Rec Arm.
You can now send MIDI from one track to another to layer two or more sound generators
To layer two plugin instruments on Track 1 set the program type to Plugin and choose a plugin instrument and preset, on Track 2 once again set the program type to Plugin and use the + icon to create a second plugin program this time choose a different plugin instrument and preset. Next, on Track 1, go to the Main Mode, Track Channel Strip and from the Send To field choose Track 2. Now any note input or MIDI from Track 1 will be sent to the second track giving a quick and easy way to layer two sounds.
MIDI tracks now have an input Monitor button with four monitoring states:
- Off - Never monitor the tracks MIDI input. Playback of events from the track is heard. This setting is useful when using keyboards where local is set to On.
- In - Always monitor the tracks MIDI input regardless of the tracks Rec Arm state. Playback of events from the track is not heard.
- Auto - When a track is record armed Monitor the tracks input. Playback of events from the track is heard.
- Merge - Always monitor the tracks input regardless of rec arm. Playback of events from the track is heard.
There is now a preference to configure the Record Arm behavior to Single or Multi (this affects both MIDI and Audio tracks). By default the preference is set to Single (exclusive arm), and as you change track MPC automatically record arms the current track, unarming any others. The behavior is designed to feel similar to previous MPC releases. When set to Single it is still possible to record arm multiple tracks, go to Track View, hold SHIFT and then from the TUI or GUI press multiple record arm buttons to toggle them On. When doing a lot of multitrack recording a better workflow is to use the Record Arm = Multi setting. Go to Preferences > Sequencer > Recording and set the Rec Arm field to Multi. Record arm no longer follows the current track and clicking anyrecord arm button On adds it to the group of record armed tracks.
Pad Perform settings now apply in Main Mode and other modes where the pads play notes. In Main Mode from the TUI go to a Plugin instrument track, next from the Program section push the pads icon to bring up the Pad Perform popup. To access the Pad Perform popup in other modes press Shift + 16 Levels or on the MPC X push Pad Perform. In the GUI your Pad Perform settings are displayed to the right of the Pads in the Pad Perform panel.
Retrospective Record - MPC now captures MIDI events in the background. After playing some notes press SHIFT and REC to add the events to the current track. From the GUI use the dedicated Retrospective Record button in the Toolbar > Transport section or go to Tools > Retrospective Record.
You can now create your own progressions in standalone. In Main Mode, from the track section, push the pencil icon to open the Track overlay, from here choose Convert To Progression.
You can now copy pads between drum programs. In Main Mode on a track with a drum program, go to the program section and push the pencil icon to bring up the Program overlay. From the overlay choose Copy Pads from here you can copy a pad, a range of pads or a bank of pads from one drum program to another.
TC On/Off - Timing Correct (TC) has now been tweaked to have a dedicated On/Off setting that is separate to the TC division parameter. Maintain a persistent TC division and toggle the TC On and Off to quickly toggle between recording with TC Off and TC On set to your favourite division.
Edit Pad Map - From the standalone MPC firmware you can now create a custom note mapping for any program type. From the Main Mode > program section press the Pencil icon to bring up the Edit Overlay. From the overlay choose Edit Pad Map to bring up the Edit Pad MIDI Note Map popup. From here you can now create your own custom pad mapping for a program. Note: This feature has already been released in the desktop software and can be found under Edit > Program > Note Mapping.
You can now easily change track from any MPC mode. Push and hold the MAIN button to bring up a temporary track selection overlay on the TUI, now tap either a pad on your MPC or a pad on the TUI overlay.
The behavior of the automation button has now been modified. On press, it now always goes from Read to Write. Pushing shift + and pressing the automation button sets it to Off.
Q-Link overlay - Now on an MPC Live, One or Touch, when you touch a Q-Link you get clear visual feedback on the TUI of the parameter it is controlling and its value.
The TC field in the Arpeggiator is now a radio button to make it easier to use.