 This tutorial is an excerpt from the Sonarworks Successful Studio Setup eBook. Download a FREE copy of the SonarWorks Successful Studio Setup eBook here!
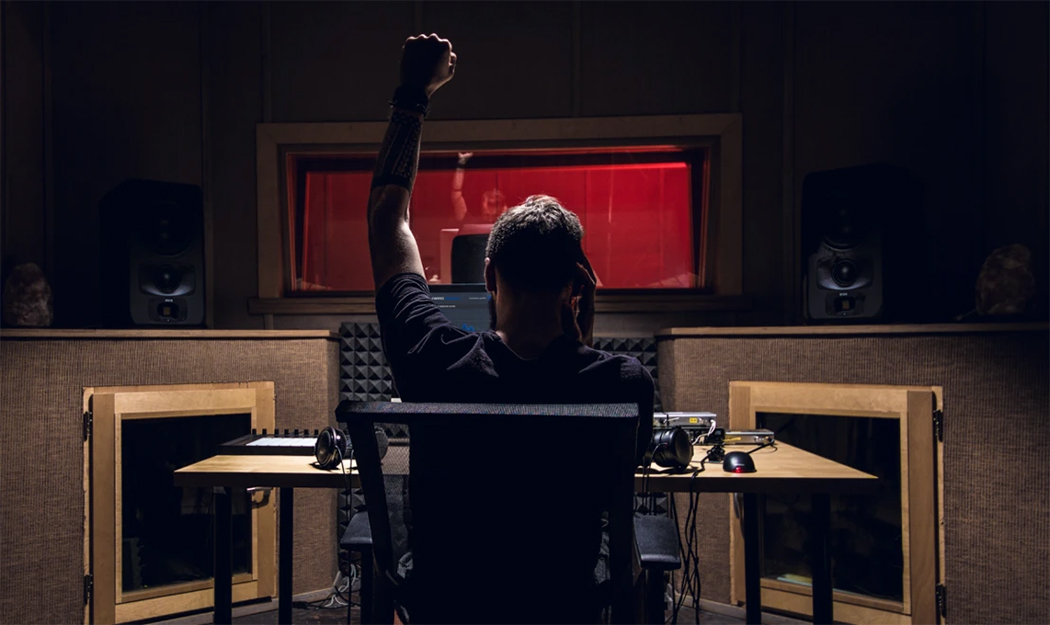
Where and how you place your speakers in your studio is critical to getting the most accurate frequency response and stereo imaging from them. Ideally, you want your listening position and the two monitors to form an equilateral triangle. In other words, the distances between any two of the three objects (your head, and each monitors) should be the same. If you don’t have a tape measure handy when setting up this triangle, a piece of string or even a guitar cable will do. While there are some recommended measurements for the triangle, it is most important that each side is the same length
Studio monitors are optimized for on-axis listening, so it is also important to ensure the monitors are pointing directly at, or just behind, your head. High frequencies are more directional than lower frequencies and you won’t hear the high frequencies accurately if you are listening to speakers that are pointing off-axis. As for height, ideally, the tweeters should be at the same height as your ears when you are seated, typically about 47-55 inches (120-140 cm) from the floor.
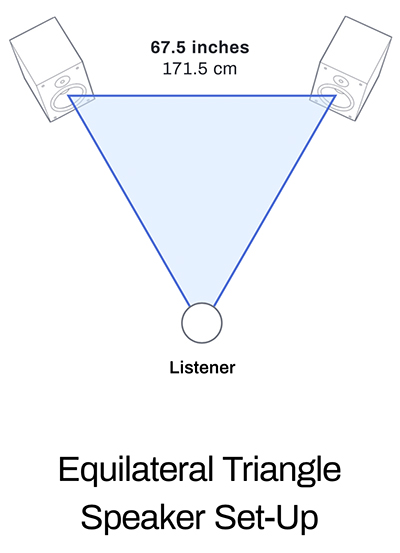 Noted acoustician Carl Tatz recommends nearfield speakers be spaced 67.5 inches (171.5 cm) apart, but even he agrees that this is only a starting point. Most studio desks are about 48 inches (122 cm) deep, and this distance puts the tip of the equilateral triangle just behind the listener’s head at the mix position. This geometry makes for a natural stereo image and sound appears to come from the room, rather than the speakers themselves.
Speakers versus Walls
Try to place your monitors so that they are away from walls and corners in order to avoid the reflections, which can create an uneven response curve due to comb filtering and low frequency reinforcement or cancellation. Sometimes your placement options are limited and speakers must be placed close to the front wall.
For this reason, many monitors provide onboard EQ settings referred to as Whole-Space (placement away from any walls), Half-Space (for placement near the front wall) and Quarter-Space (for placement near front corners).
Many monitors also provide additional EQ options, which can further tailor the speakers’ sound to compensate for deficiencies in the listening environment. Keep symmetry in mind, so the left and right speakers should ideally be equidistant from their respective side walls.
If your speakers have a rear port, keep the speakers away from the wall at least the same distance as the diameter of the port, usually about 5 to 10 centimeters. If you find you do need to place your speakers near the front wall, experiment with a few different distances to see which placement feels most accurate.
Any distance past about 24 inches (60 cm) dramatically reduces bass problems caused by front wall reflections. On the other hand, pro studios often mount their monitors into the front wall, with the face of speakers flush with the wall. This placement eliminates the bass cancellation problems that affect speakers placed in front of a wall.
Subs
Subwoofers are inherently non-directional, but still need to be placed properly to optimize their in-room response. One trick to help find a good location for a sub is to temporarily put the subwoofer in your listening position and crawl around the room to find where the bass sounds best. Then put your subwoofer there.
Your subwoofer may have a cutoff or crossover frequency control. It should be adjusted to match your particular main monitors. The idea of subs is to take the hard work of creating low frequencies from smaller main speakers and if the crossover is too low, perhaps below 70Hz, some smaller main monitors may still struggle to handle the lower frequencies.
Conversely, subs are not meant to handle anything but bass, so if you set your crossover much above 100Hz, you may actually wind up with a somewhat disjointed audio image as your brain might be able to localize the sound coming from your subwoofer.
De-coupling
It may be necessary to de-couple the speakers from the stand or desk surface they are resting on. Otherwise, the desk or stands will vibrate and effectively absorb or amplify certain frequencies. Speaker isolation pads help mitigate vibrations and resonances by absorbing the vibrations before they can transfer to the stand.
Simple and inexpensive isolation pads can be made of dense foam, like the Auralex Mopad, while multi-layer isolators, like Primacoustic’s Recoil Stabilizer provide even more isolation. Other more sophisticated isolators, like those from IsoAcoustics, may use non-resonant spring systems and provide isolation as well as height adjustment.
At minimum, moving your speaker off of your desk and onto stands will provide a basic amount of isolation and you won’t feel the speaker vibrations through your work surface.
Conclusion
Through careful monitor placement and isolation, you will ensure what you are hearing is the most accurate sound your speaker system can produce. Once your setup is optimized, you can employ electronic room correction, like Sonarworks Reference 4, to really dial in the final touches to your monitors. Also, be sure to check out our article on acoustic treatment techniques to get the most out of your acoustic space.
This tutorial is an excerpt from the SonarWorks Successful Studio Setup eBook. Download a FREE copy of the Sonarworks Successful Studio Setup eBook here!

